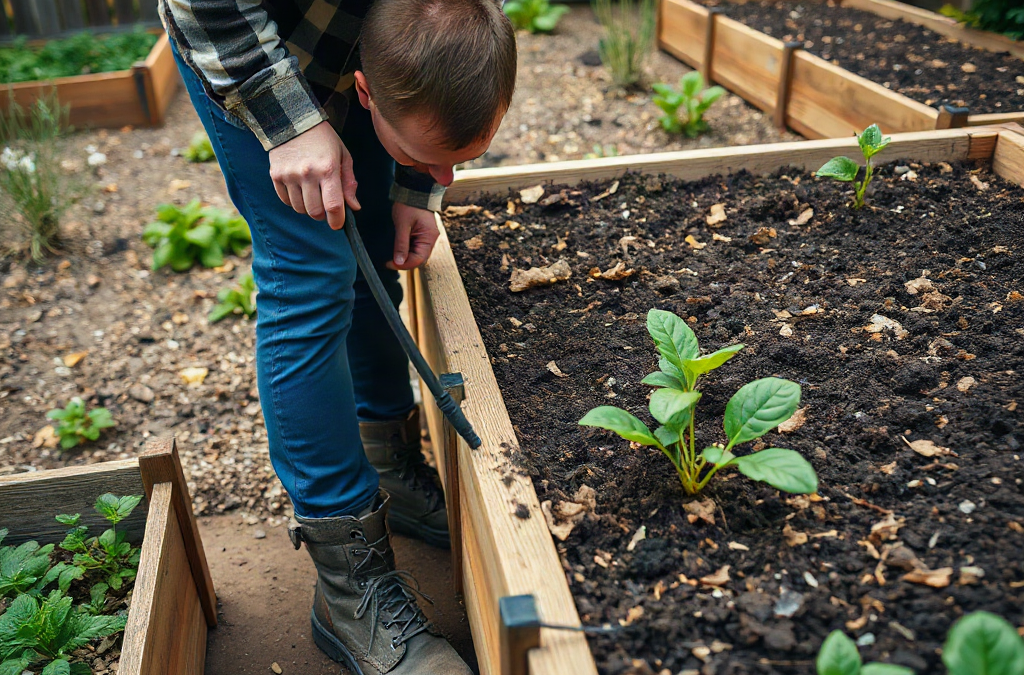
Raised beds for beginners work best when filling, watering, and maintenance are treated as one connected system: use a stable soil blend, water the root zone deeply, and replace organic matter as it decomposes. Combine screened topsoil with finished compost and a coarse mineral component rather than filling the bed with compost alone. Check moisture below the surface before irrigating, because a dry crust can hide damp soil and encourage unnecessary watering. Expect the soil level to settle during the first season, then restore it with compost, protect it with mulch, and inspect the bed periodically for compaction, drainage problems, weeds, and damaged boards.
What you’ll learn
This guide covers the following practical points:
- Choose and Layer Raised-Bed Fill — A productive raised bed needs a root-zone mix that holds moisture without becoming dense or waterlogged.
- Water the Root Zone, Not Just the Surface — Raised beds often dry faster than in-ground soil because more of the soil mass is exposed to moving air and warm bed walls.
- Maintain Soil Through the Growing Season — Mulch is the simplest defense against rapid evaporation, surface crusting, and weed germination.
- Renew the Bed Between Seasons — Seasonal renewal should replace lost organic matter without rebuilding the entire bed.
Choose and Layer Raised-Bed Fill
A productive raised bed needs a root-zone mix that holds moisture without becoming dense or waterlogged. Finished compost supplies decomposed organic material, topsoil contributes mineral particles and body, and a coarse amendment creates pore space. Compost alone may initially look rich, but it can shrink substantially, retain too much water, or become difficult to rewet after drying.
For a practical starting blend, combine roughly equal volumes of screened topsoil and finished compost, then add a smaller amount of coarse material such as pine fines, aged bark, pumice, or perlite. The exact proportions should respond to the ingredients. Heavy, sticky topsoil needs more coarse material; very sandy soil needs more compost. Moisten the components while mixing so they blend evenly instead of forming dry pockets.
Calculate the required volume before ordering material. An illustrative bed measuring 4 feet wide, 8 feet long, and 1 foot deep holds 32 cubic feet: 4 × 8 × 1 = 32. Because soil settles, ordering a modest amount beyond the calculated volume is useful, but do not intentionally mound loose soil far above the rim where rain can wash it away.
| Fill component | Primary role | Warning sign |
|---|---|---|
| Screened topsoil | Provides structure and mineral content | Forms a hard, sticky clod when wet |
| Finished compost | Adds organic matter and moisture retention | Contains heat, ammonia odor, or recognizable fresh waste |
| Coarse amendment | Maintains air spaces and drainage | Dominates the mix or leaves roots drying too quickly |
Deep beds are sometimes filled at the bottom with branches, logs, leaves, or yard debris to reduce soil cost. That approach trades immediate savings for faster settling and less predictable moisture movement. It is better suited to beds much deeper than the intended crop roots. Keep at least 10 to 12 inches of consistent growing mix above bulky material, and never use treated lumber scraps, diseased plants, persistent weeds, or unknown waste as filler.
Water the Root Zone, Not Just the Surface
Raised beds often dry faster than in-ground soil because more of the soil mass is exposed to moving air and warm bed walls. Newly filled beds can be especially uneven: dry compost or bark may repel the first light watering, while finer pockets remain saturated. A slow initial soak helps settle the mix and reveals low areas before planting.
Use a finger, hand trowel, or soil probe to check moisture several inches down. If the root zone feels cool and slightly damp, watering can wait even when the surface appears pale. If it is dry at root depth, irrigate slowly until the soil is evenly moist. Stop if water pools for an extended period or runs from the bed before soaking in; those signs point to compaction, an excessively fast application rate, or soil that has become water-repellent.
Drip tubing or soaker hose reduces leaf wetting and delivers water gradually, making it practical for regularly planted beds. A watering wand works well for a small number of beds but requires enough time to soak the full root zone. Brief daily sprinkling is a common failure mode because it encourages shallow rooting while deeper soil remains dry.
Weather, crop size, soil texture, and bed depth prevent a single calendar from working everywhere. Seedlings need a consistently moist upper layer while they establish; mature tomatoes, squash, and other large plants draw from a deeper volume. Check more often during hot, windy weather and less often after rain or beneath thick mulch. Wilting at midday is not proof of dry soil—inspect moisture first, because saturated roots can produce similar symptoms.
Maintain Soil Through the Growing Season
Mulch is the simplest defense against rapid evaporation, surface crusting, and weed germination. Apply a loose layer of clean straw, shredded leaves, or other weed-free organic material after seedlings are established, leaving a small open space around stems. A thick mat pressed against young plants can hold excessive moisture and create shelter for pests.
Remove weeds while they are small so their roots do not disturb nearby crops. Hand-pull after watering, when the soil releases roots more easily. Avoid stepping or kneeling inside the bed; concentrated weight collapses pore spaces and makes water infiltration less uniform. Beds wider than you can comfortably reach from both sides may need a stepping stone or narrow access strip rather than repeated foot traffic across the growing area.
Plant appearance should be interpreted alongside soil conditions rather than treated as an automatic request for fertilizer. Pale growth can reflect depleted nutrients, but it can also follow cold soil, damaged roots, poor drainage, or an unsuitable pH. If several crops repeatedly struggle despite reasonable watering and mature compost, a soil test offers better direction than adding assorted amendments.

A compact maintenance routine keeps small problems visible:
- Check moisture beneath the mulch rather than judging the surface.
- Clear blocked drip emitters and repair leaking connections.
- Pull weeds before they flower or spread through crop roots.
- Look for soil washing from corners or escaping beneath the frame.
- Inspect wooden boards, screws, and corner joints for movement or decay.
Success looks like water entering without prolonged pooling, plants developing roots through a loose but cohesive mix, and soil remaining slightly moist between irrigations. Persistent puddles, sour odors, algae, cracked surfaces, or water racing down gaps beside the frame indicate that the bed needs correction rather than more fertilizer.
Renew the Bed Between Seasons
Seasonal renewal should replace lost organic matter without rebuilding the entire bed. After removing spent crops, leave healthy roots to decompose if they are not tangled with persistent weeds. Cut stems near the soil line rather than pulling large root balls that remove valuable soil and disrupt structure.
Spread a modest layer of finished compost over the surface and work it only into the upper few inches if incorporation is needed. Deep annual digging breaks established soil structure and brings dormant weed seeds upward. Where the soil remains loose, compost can simply be left on top beneath mulch for soil organisms and irrigation to integrate gradually.
Settling is expected during the first year because particles shift and organic ingredients continue decomposing. Top up with a balanced blend if the level drops substantially; adding pure compost every time can gradually create an overly organic, unstable growing medium. If drainage has slowed, loosen compacted areas with a garden fork without turning the bed into layers, then reassess whether the original mix contained too much fine soil.
Winter treatment depends on whether the bed remains planted. Mulch protects bare soil from pounding rain and suppresses cool-season weeds, while a cover crop can hold soil and contribute roots. Cover crops require timely cutting before they set seed and enough time to decompose before spring planting. For a beginner with only one or two beds, a leaf or straw cover is usually simpler to manage.
Frequently Asked Questions
Can I fill a raised bed with compost only?
Compost alone tends to settle and may hold water unevenly. Blend finished compost with screened topsoil and a coarse amendment to create a more stable root zone.
How do I know when a raised bed needs water?
Check several inches below the surface. Water when the active root zone feels dry, not merely because the exposed surface has changed color.
Should landscape fabric go under a raised bed?
Permeable cardboard can suppress existing grass temporarily, but impermeable plastic may obstruct drainage. Hardware cloth is more appropriate where burrowing rodents are a known problem.
Why is the soil level dropping?
Fresh fill settles as particles rearrange and organic material decomposes. Restore the level with a balanced soil-and-compost blend rather than repeatedly adding compost alone.
Do I need to replace raised-bed soil every year?
No. Remove problem weeds, add finished compost, correct compaction or drainage issues, and top up settled areas. Full replacement is rarely necessary unless the soil is contaminated.
Conclusion
Begin with a stable, evenly mixed root zone, then let below-surface moisture—not a fixed schedule—control irrigation. Protect the surface with mulch, keep feet out of the growing area, and investigate drainage or nutrient problems before adding more products. At season’s end, retain sound soil, add finished compost in moderation, and correct only the areas showing compaction or excessive settling. Those habits make raised beds easier and less costly to manage over time.