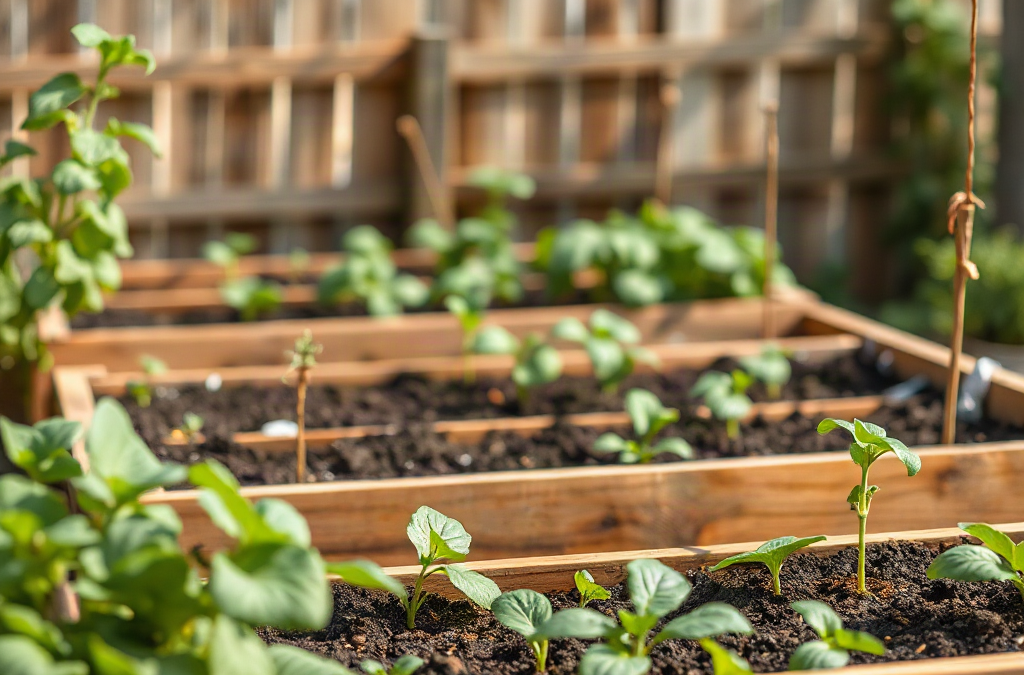
For raised bed gardening, beginners should use about 12 inches of soil for most vegetables, reserve 18 to 24 inches for deep-rooted crops, and arrange beds no wider than 4 feet so the center remains reachable. Leave paths at least 2 feet wide, or 3 feet where wheelbarrow access is needed. Place taller crops on the north side to limit shading, group plants by water needs, and orient beds to make the best use of available sun rather than following a rigid compass rule. Before filling a bed, loosen compacted ground and confirm that excess water can drain away.
How Deep Should a Raised Bed Be?
Soil depth should match the plants being grown and the condition of the ground beneath the bed. A frame that is 10 to 12 inches high gives many common vegetables enough usable soil when it sits over loosened, drainable ground. Lettuce, radishes, bush beans, onions, and many culinary herbs can grow within that range. Tomatoes, peppers, cucumbers, and squash can also use a 12-inch bed when their roots are free to continue into suitable native soil below.
A deeper bed becomes more valuable when the underlying ground is compacted, rocky, contaminated, or covered by an intact hard surface. Carrots, parsnips, large tomato plants, and other crops with substantial root systems benefit from approximately 18 to 24 inches of unobstructed growing medium when roots cannot enter the ground. Depth does not have to come entirely from tall lumber: loosening the soil beneath an open-bottom bed can create additional rooting space without requiring another load of purchased mix.
| Growing situation | Practical soil depth | Suitable examples |
|---|---|---|
| Shallow-rooted crops over usable ground | 8–10 inches | Lettuce, spinach, radishes, chives |
| General vegetable bed | 10–12 inches | Beans, peppers, cucumbers, onions |
| Deep roots or poor ground below | 18–24 inches | Carrots, parsnips, mature tomatoes |
| Accessible standing-height bed | 24 inches or more | Mixed crops with less bending |
Very shallow beds create a smaller moisture reserve. On a hot afternoon, six inches of mix can dry far faster than a deeper volume, especially near wooden or metal edges. Shallow frames may still work for leafy greens, but they require closer attention to irrigation and may limit crop choices. At the opposite extreme, filling every bed to waist height with premium soil is expensive and unnecessary unless accessibility is the main objective.
Measure usable soil rather than board height. Fresh fill often settles after watering and decomposition, leaving the surface several inches below the rim. Fill in stages, water gently to settle the mix, and add more before planting. If roots remain stunted despite steady moisture and normal foliage color, check for a dense layer beneath the bed rather than assuming fertilizer is the answer. A garden fork can loosen subsoil before construction without turning distinct soil layers upside down.
What Soil Belongs in a Raised Bed?
A raised bed needs a mineral-based growing medium with organic matter, not a container filled only with bagged compost or light potting mix. Mineral soil supplies structure and weight, while mature compost improves aggregation, nutrient retention, and biological activity. A practical fill often combines screened topsoil with finished compost, adjusted according to how heavy, sandy, or organic the available materials already are.
Material labels are not consistent enough to justify a universal recipe. One supplier’s “topsoil” may be sandy loam, while another product may contain mostly woody material. Inspect bulk soil before ordering. It should smell earthy, crumble when moist, and contain no obvious trash, persistent chemical odor, or large proportion of uncomposted wood. Ask where it came from and whether the supplier provides test information. For a food garden, unknown excavation spoil is a poor bargain even when the price is attractive.
Too much compost is a common first-bed mistake. Compost continues to break down, so a bed made almost entirely from it can settle sharply and hold nutrients in an unbalanced way. Conversely, dense clay dug directly from the property may form heavy clods and drain poorly inside a frame. Combining compatible materials before filling produces a more uniform root zone than stacking topsoil, compost, and amendments in separate layers.
Skip filler layers of logs, stones, cans, or plastic when the goal is dependable vegetable production in a standard-height bed. Large buried materials reduce the actual soil depth and can create irregular pockets as they shift or decay. Stones at the bottom do not fix a drainage problem caused by compacted ground; water still slows where the fine-textured soil meets the coarse layer. Correct the site drainage, open the bed to the ground, and use a consistent growing mix instead.
After filling, water the bed and observe it before planting. Water should soak in rather than stand on the surface, but the mix should not become powder-dry immediately afterward. A soil test is useful when local extension services offer one appropriate for vegetable gardens. During later seasons, top-dress with a modest layer of finished compost instead of removing and replacing all the soil. Declining bed height is normal as organic matter decomposes, but persistent sinking may indicate that the original fill contained too much undecomposed material.
How Wide and Long Should Beds Be?
Bed width is determined by reach, because productive raised beds should not require stepping onto the soil. A bed accessible from both long sides is commonly kept at 3 to 4 feet wide. Against a fence or wall, 2 to 2.5 feet is more realistic because every plant must be reached from one side. Gardeners with shorter reach, limited balance, or seated access should test the dimension physically before building.
Reaching is not merely a comfort issue. Kneeling or walking in the bed compresses pore spaces, reducing the movement of air and water around roots. It can also damage seedlings and irrigation lines. A four-foot bed may look efficient on paper, but it becomes inconvenient if a hedge, greenhouse wall, or neighboring bed blocks access along one edge. Mark the proposed outline with stakes and string, then reach toward the center from the path without leaning on the imaginary frame.
Length is more flexible. Eight feet is manageable for many home gardens because standard materials are easy to source and the far end is never excessively distant. Twelve- or sixteen-foot beds can reduce framing material per square foot, but they make gardeners walk farther to cross from one side to the other. Add a cross-path or stepping route between long runs instead of encouraging shortcuts over the soil.
Paths need space for actual work, not just walking sideways. About 24 inches may serve a compact hand-tended garden, while 30 to 36 inches is more comfortable for buckets, kneeling, and wheelbarrow movement. Mobility devices may require wider paths, firm surfaces, turning space, and beds designed around the user’s reach. Remember that plants such as squash and indeterminate tomatoes can spill beyond the frame and narrow a path during midsummer.
Frame height also affects reach. A tall bed reduces bending but moves the center farther from the gardener’s shoulder. Before committing to a wide, elevated design, mock up the top edge with boxes or boards. Narrowing a tall bed is usually wiser than discovering after it is filled that the middle cannot be weeded or harvested safely.
How Should Raised Beds Be Arranged?
Arrange beds around sunlight, access, water, and slope rather than assuming that one compass orientation works everywhere. Most fruiting vegetables need a sunny position, while nearby buildings, trees, and fences can cast long seasonal shadows. Observe the site during the growing season if possible, or check it at several times of day before placing permanent frames.

A north–south bed orientation can distribute sunlight evenly in an open location, but orientation matters less than avoiding major shade and preserving convenient paths. On a sloping property, long beds placed carelessly across changing grades may hold water at one end or expose soil at the other. Level each frame across its width and length. Where the grade is substantial, use shorter stepped beds rather than burying one side of a tall frame deeply and leaving the opposite side unsupported.
Place tall crops where they will not shade shorter crops during the strongest part of the day. In much of the Northern Hemisphere, that usually means trellised peas, pole beans, and indeterminate tomatoes belong toward the north side of the garden. Local sun angles, structures, and slope can change that decision, so watch where the shadow actually falls. A trellis on the south edge may be useful when deliberate afternoon shade is wanted for summer lettuce, but it is a poor default for sun-loving peppers behind it.
Water access should influence the plan before soil arrives. A hose dragged across corners can crush plants and loosen fittings. Position beds so a main hose or irrigation line reaches them without crossing the growing area, and include shutoff points that are easy to inspect. Group crops with similar watering patterns when practical: frequently harvested greens fit together better than pairing a thirsty cucumber vine with established Mediterranean herbs that prefer the soil to dry somewhat between waterings.
Leave room outside the frames for maintenance. Wooden boards eventually need replacement, weeds emerge along edges, and wheelbarrows need a turning route. Avoid pressing beds tightly against fences unless they are intentionally narrow and serviced from one side. A compact plan with two accessible beds often produces more usable food than four crowded frames whose centers, corners, and paths cannot be maintained.
Build and Layout Checklist
A dry run before construction catches layout errors that become costly after several cubic feet of soil have been delivered. Use stakes, string, cardboard, or a garden hose to outline every bed and path. Walk the routes while carrying a bucket, turn a wheelbarrow at the ends, and imitate reaching across the frame. The layout should work when plants are mature, not only when the beds are empty.
- Check sunlight: Identify shadows from buildings, fences, and trees at more than one time of day.
- Inspect the ground: Look for standing water, dense compaction, aggressive perennial weeds, buried utilities, and a noticeable slope.
- Set usable dimensions: Keep two-sided beds within comfortable reach and make one-sided beds narrower.
- Assign crop depth: Reserve deeper soil for long roots or sites where native ground cannot be used.
- Test paths: Allow space for kneeling, tools, harvesting containers, and the widest equipment that will enter.
- Plan water delivery: Locate hoses, drip lines, and shutoffs where they can be checked without stepping into beds.
- Calculate soil volume: Multiply bed length by width by fill depth using the same units, then allow for settling.
For example, a 4-by-8-foot bed filled to one foot requires 32 cubic feet of mix before allowing for settling. Calculating each bed separately prevents confusion when frames have different depths. Confirm whether a bulk supplier sells by the cubic yard and convert units carefully; ordering from exterior frame dimensions can overstate the usable interior volume slightly.
After installation, signs of a sound plan include even drainage, reachable centers, paths that remain passable when foliage expands, and soil that stays moist below the surface without remaining saturated. Warning signs include puddling at one end, constant edge drying, a center that cannot be weeded, or trellises shading most of another bed. Correct access and drainage problems early. Moving a trellis or widening a path is far easier during the first season than after permanent irrigation and perennial crops are established.
Frequently Asked Questions
Is 12 inches deep enough for a raised vegetable bed?
Yes, 12 inches is suitable for many vegetables when the bed has an open bottom over loosened, drainable ground. Use greater depth where roots cannot enter the native soil or when growing long root crops.
Should raised beds have a bottom?
Most beds placed on soil should remain open at the bottom for drainage and root access. Hardware cloth may be added where burrowing animals are a persistent problem, while beds on contaminated ground need an appropriate barrier and adequate soil depth.
Can a raised bed be placed directly over grass?
Yes, but remove tough perennial weeds and mow the area first. Plain cardboard can suppress existing grass beneath an open-bottom bed, though it does not replace adequate soil depth or correction of poor drainage.
What is the best width for a raised bed against a fence?
Keep a one-sided bed about 2 to 2.5 feet wide, adjusted to the gardener’s comfortable reach. Do not rely on access through the fence or on stepping into the soil.
Do raised beds need to run north to south?
No. North–south orientation can distribute light evenly on an open site, but avoiding building and tree shade matters more. Arrange tall crops and trellises according to the shadows they cast in the actual garden.
Conclusion
A useful raised bed begins with dimensions that suit its site and gardener. Match soil depth to crop roots and the condition of the ground below, then choose a width that keeps every planting space reachable without compaction. Treat paths, sunlight, drainage, and hose access as parts of the growing system rather than leftover spaces between frames.
Before buying lumber or soil, mark the full layout and test it with the tools and equipment that will be used. Inspect fill materials instead of trusting a product name, mix them uniformly, and expect some settling after watering. Start with fewer well-positioned beds if space or soil is limited. A layout that can be watered, weeded, and harvested comfortably will remain more productive and easier to adapt than a crowded garden built around maximum bed area.
For locally appropriate planting depths, soil testing, drainage guidance, and raised-bed material advice, consult a county or regional university Cooperative Extension service. Extension recommendations can account for local soil types, rainfall patterns, frost dates, and crop pressures that a universal layout cannot capture.