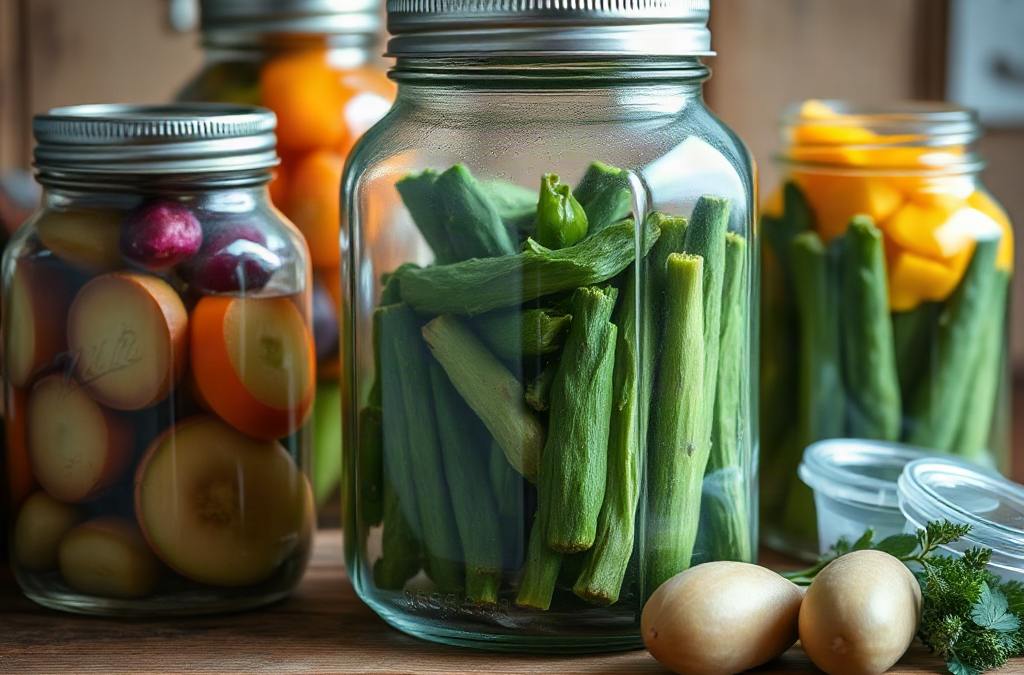
Canning and preserving essentials for homesteads include tested canning methods, suitable equipment, seasonal food planning, and storage practices that protect quality and safety. High-acid foods such as fruit, pickles, and properly acidified tomatoes generally use a boiling-water canner, while low-acid vegetables, meats, and soups require pressure canning because ordinary boiling does not control the relevant spoilage risk. Freezing, dehydration, fermentation, and cool storage provide useful alternatives when fuel, jars, freezer space, or processing time are limited. Use current tested recipes, follow processing times and pressure instructions precisely, inspect jars before use, and discard questionable food rather than relying on smell or taste.
What you’ll learn
This guide covers the following practical points:
- Choose Foods and Preservation Methods by Risk — The best preservation method depends on the food’s acidity, moisture, texture, intended use, and the resources available on the homestead.
- Essential Equipment for a Working Homestead Pantry — Useful equipment should make safe, repeatable work easier rather than encourage improvised processing.
- A Reliable Seasonal Workflow From Harvest to Storage — Successful preservation begins before the produce reaches the kitchen.
- Storage Checks, Common Failures, and Practical Priorities — Storage conditions determine whether the work remains useful months later.
Choose Foods and Preservation Methods by Risk
The best preservation method depends on the food’s acidity, moisture, texture, intended use, and the resources available on the homestead. Treating every harvest as a canning project creates unnecessary work and can introduce safety problems. A basket of berries may be suitable for freezing, drying, or a tested jam recipe, while green beans need a method designed for low-acid vegetables if they are stored in shelf-stable jars.
Acidity is the first major decision point. High-acid foods include most fruits, fruit spreads made with tested formulas, pickles with sufficient vinegar, and foods that have been properly acidified according to an approved recipe. Low-acid foods include plain vegetables, meats, poultry, seafood, and mixtures containing those ingredients. Boiling-water canning is commonly used for high-acid foods; pressure canning is required for low-acid foods because the internal temperature and processing conditions need to address a different spoilage hazard. A pressure canner is not simply a faster boiling-water canner, and a boiling-water bath is not an acceptable substitute for pressure processing low-acid food.
Several methods can work side by side. Freezing preserves color and fresh texture well, but it depends on continuous electricity and adequate freezer capacity. Dehydration reduces weight and storage volume, making it useful for sliced apples, herbs, mushrooms, and vegetable ingredients, although dried food must be thoroughly cooled and protected from moisture. Fermentation can create distinctive flavors and may extend the usable life of vegetables, but salt concentration, temperature, cleanliness, and time affect the result. Root cellaring or another cool, dry storage arrangement may be more efficient than processing sturdy onions, winter squash, or potatoes into jars.
A practical first decision is to match the crop to how your household actually eats. Freeze chopped peppers if they usually go into winter soups; dry herbs if small portions are used frequently; can applesauce if a shelf-stable breakfast food has clear value. A common mistake is preserving the largest possible quantity rather than the quantity the household will use. A full pantry of unwanted flavors still consumes jars, fuel, labels, and labor.
Essential Equipment for a Working Homestead Pantry
Useful equipment should make safe, repeatable work easier rather than encourage improvised processing. For boiling-water canning, a deep pot with a rack, jar lifter, wide-mouth funnel, bubble remover or nonmetallic spatula, ladle, clean jars, two-piece lids, and bands cover the basic workflow. The pot must allow water to cover the jars by the amount specified in the tested recipe while leaving room for boiling without excessive overflow.
Pressure canning requires more attention to the canner itself. The model may use a dial gauge, a weighted gauge, or both, and its instructions determine how the lid, vent, gasket, rack, and pressure indicator are handled. The canner should be examined before the season begins, especially if a gasket is aging or a dial gauge needs verification through a local extension service. Do not use a pressure cooker, multicooker, or small electric appliance as a substitute for a pressure canner unless the manufacturer and a current tested process specifically support that use.
Small tools affect quality even when they do not determine safety by themselves. A reliable timer helps track the complete processing period; a thermometer can help with recipes where temperature matters; clean towels prevent slippery handling; and labels record the product, date, batch, and recipe source. Keep a notebook for yield, jar size, ingredient changes, and processing observations. That record makes it easier to adjust next season without guessing why a batch produced soft vegetables or an unexpectedly low yield.
Equipment choices involve tradeoffs. New jars and approved lids reduce uncertainty, while reused jars can be practical if they are free of chips, cracks, and scratches and are used with compatible lids. Wide-mouth jars are convenient for chunky foods but may not suit every product or jar size in a tested recipe. A bargain canner is not a bargain if its seal is unreliable or its gauge cannot be checked. Before buying more accessories, prioritize a sound canner, intact jars, dependable lids, and a clean workspace.
One weak assumption is that cleanliness alone makes an untested recipe safe. Clean equipment limits contamination during handling, but safety also depends on acidity, heat penetration, jar size, ingredient proportions, and processing time. Use current recipes from recognized food-preservation authorities rather than changing the ratio of vegetables, meat, liquid, vinegar, or thickeners on the assumption that the jars will process the same way.
A Reliable Seasonal Workflow From Harvest to Storage
Successful preservation begins before the produce reaches the kitchen. Estimate the amount your household will use, identify the recipes and jar sizes in advance, and harvest food when it is sound and at the quality recommended for the chosen method. Overripe fruit may produce a softer spread, while vegetables held too long after harvest can lose texture and quality. Processing a smaller amount promptly is often better than accumulating several days of produce and rushing through a large batch.
A workable sequence is straightforward: inspect and sort the harvest, wash it appropriately, prepare ingredients according to the tested recipe, fill jars with the specified headspace, remove trapped air when directed, wipe rims, apply lids and bands correctly, process for the complete time, cool without disturbance, then check and label the finished jars. Headspace is not decorative. It allows for expansion and vacuum formation, and too much or too little space can affect sealing or leave food pressed against the lid.
Timing errors often happen during busy harvest days. The processing clock starts only when the canner has reached the condition specified by the recipe, not when the first jar enters the pot. If boiling stops after jars are loaded, bring the water back to a full boil before counting the required time as directed. Pressure canning has an additional requirement: the canner must vent as specified before pressure timing begins, and pressure must remain at the level called for throughout processing. If pressure drops below the required level, follow the recipe or canner guidance for restarting or adjusting the process rather than estimating.
Consider a homestead tomato harvest. Whole tomatoes, salsa, sauce, and tomato-vegetable mixtures do not necessarily share the same processing instructions. Adding onions, peppers, garlic, oil, or extra vegetables changes the composition and may change heat penetration or acidity. A tested salsa formula is therefore safer than modifying a family recipe by adding a large amount of low-acid ingredients. If the desired flavor falls outside a tested formula, freezing the finished mixture may be the more sensible option.
Cooling and inspection are part of the process, not an afterthought. Let jars cool undisturbed for the period recommended by the recipe, then remove bands if appropriate, check the seal, wipe the jar, and label it. A sealed lid does not rescue food processed with the wrong method or time. When a jar fails to seal, refrigerate it for prompt use, reprocess only when a trusted recipe and current guidance allow it, or freeze the food. Avoid stacking unverified jars in a way that hides leaks or seal problems.

Storage Checks, Common Failures, and Practical Priorities
Storage conditions determine whether the work remains useful months later. Keep shelf-stable jars in a cool, dark, dry place away from temperature swings, direct sunlight, damp walls, and chemical fumes. Heat can reduce quality, while moisture can corrode bands and labels. Store older batches where they will be used first, and keep a simple inventory showing product, quantity, date, and any notes about texture or recipe variation.
Inspect jars before opening and again before serving. Look for a broken seal, leaking residue, bulging lid, spurting liquid, unexpected cloudiness, mold, rising bubbles, or an unusual color or odor. Do not taste food to determine whether it is safe. When a jar or its contents seem questionable, discard it without salvaging the questionable portion. If a jar breaks, leaks, or shows pressure-related damage, protect your hands during cleanup and wash the surrounding area carefully.
Quality failures do not all mean the same thing. Soft pickles may reflect overripe produce, prolonged holding, or a recipe that does not preserve crispness; floating fruit can result from density changes or packing technique; discoloration may follow oxidation, light exposure, or headspace issues. These signs can make food less appealing without identifying the full safety status, so the correct response is to compare the batch with the tested method and seek preservation guidance rather than invent a diagnosis.
Prioritize preservation capacity in this order:
- Safety: Use the correct method and a current tested process for each food.
- Household demand: Preserve portions and flavors that will actually be used.
- Resource fit: Match the method to available fuel, electricity, freezer space, jars, and labor.
- Quality: Choose the method that best protects the texture and form needed for later meals.
- Records: Label every batch so rotation and troubleshooting are possible.
A common failure is allowing the harvest calendar to dictate more than the household can process. If a pressure-canning day would require unsafe rushing, freeze or refrigerate a portion and process the remainder later. If fuel is limited, concentrate on high-value foods and use cool storage or dehydration where suitable. A modest, well-labeled pantry is more resilient than a large collection of jars whose recipes, dates, and processing conditions are uncertain. Related planning can also be connected with Canning and preserving essentials for homesteads when building a broader household food system.
Keep preservation decisions connected to meals. A jar of plain vegetables may sit unused, while measured soup ingredients, fruit for breakfasts, or sauce for winter cooking may move steadily through the pantry. Reviewing the previous season’s leftovers before the next harvest gives better guidance than preserving according to tradition alone. For additional planning context, see Canning and preserving essentials for homesteads and compare shelf-stable methods with freezing before purchasing more equipment.
Frequently Asked Questions
Can all homestead vegetables be canned in a boiling-water bath?
No. Plain low-acid vegetables generally require pressure canning with a tested process. Boiling-water canning is typically used for high-acid foods and properly acidified recipes.
Is it safe to change ingredients in a canning recipe?
Small changes may affect safety, texture, acidity, or heat penetration. Do not alter proportions of low-acid ingredients, liquids, thickeners, or oil unless current preservation guidance specifically permits the change.
What should be done with a jar that does not seal?
Refrigerate it for prompt use, freeze it when suitable, or reprocess it only if a trusted recipe provides instructions for doing so. Do not store it as a shelf-stable jar.
Which preservation method is best when freezer space is limited?
Consider tested canning for suitable foods, dehydration for herbs and thinly sliced produce, and cool storage for crops such as onions or winter squash. The best choice depends on food type and available conditions.
How should home-canned food be checked before eating?
Inspect the jar, lid, seal, and contents for leakage, bulging, mold, spurting, unusual odor, or other changes. Never taste questionable food to test its safety; discard it instead.
Conclusion
A dependable homestead pantry is built by matching each food to a tested preservation method, not by canning everything that comes out of the garden. Put safety first for low-acid vegetables, meats, and mixed recipes; use boiling-water canning for suitable high-acid foods; and reserve freezing, drying, fermentation, or cool storage for crops they handle well. Prepare equipment before harvest pressure peaks, record every batch, and inspect jars before use. Household demand should guide quantity, because unused jars consume resources without strengthening food security. Begin with a manageable group of foods your household already eats, follow current instructions precisely, and use the next season’s inventory review to refine the pantry rather than simply expanding it.