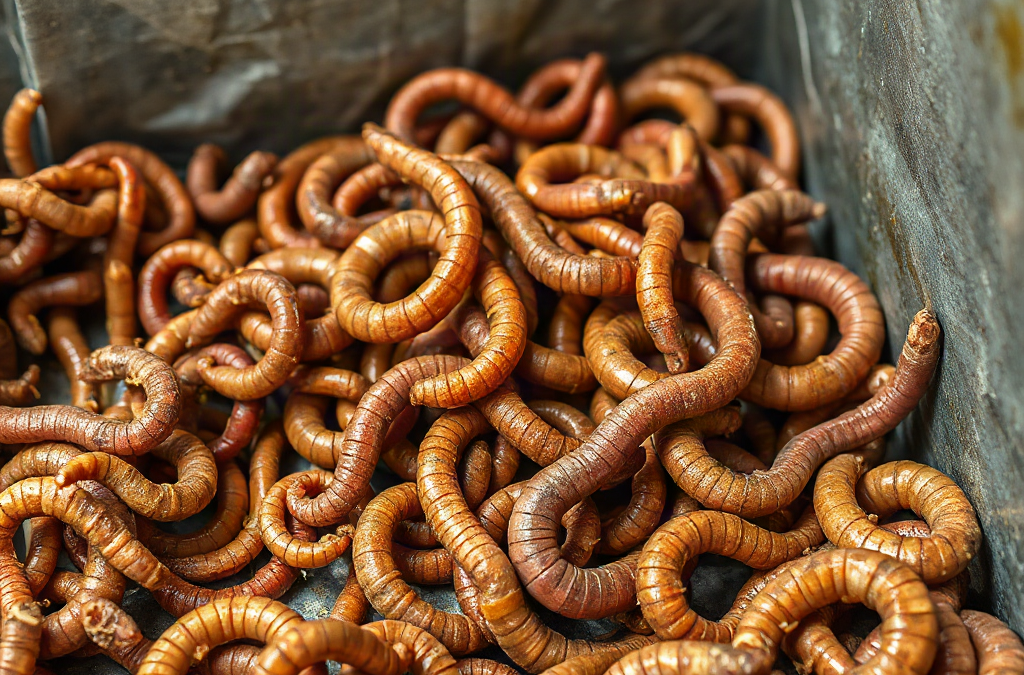
Begin worm farming with a ventilated, opaque bin, moist carbon-rich bedding, and a modest population of composting worms such as red wigglers. Keep the bedding as damp as a wrung-out sponge, bury small portions of suitable kitchen scraps, and wait until most food is consumed before adding more. A healthy bin smells earthy; sour odors, standing liquid, escaping worms, or clouds of flies signal excess food, poor airflow, or unsuitable moisture. Harvest the finished vermicompost after the bedding has become dark and crumbly, separating worms by light, migration, or screening before returning them to fresh bedding.
Which Worm Bin Works Best for a Beginner?
A beginner worm bin should be easy to inspect, resistant to temperature swings, and large enough to absorb occasional feeding mistakes. An opaque plastic storage tote is often the simplest choice because it retains moisture, blocks light, and costs less than a stacked commercial system. A broad, shallow container is generally more useful than a narrow, deep one: composting worms live and feed near the surface, where oxygen reaches the bedding.
The bin needs airflow without becoming drafty. Small ventilation openings near the upper sides and lid allow gas exchange, while intact lower walls help contain moisture. Drainage holes are not a substitute for moisture control. A correctly managed bin should not produce a reservoir of liquid, and a tray of stagnant runoff can attract insects or create unpleasant odors. If bedding can be squeezed and releases more than a drop or two, add dry shredded cardboard rather than relying on drainage.
Place the bin where temperatures remain moderate and direct sun cannot heat the container. A utility room, insulated garage, basement, mudroom, or shaded outbuilding may work, but each location has tradeoffs. Indoor bins are easier to monitor through winter, while outdoor bins may experience rapid heating, freezing, or drying. A dark plastic tote left in summer sun can become dangerous to worms even when the surrounding air feels tolerable.
Red wigglers are commonly used because they thrive in decaying organic material rather than deep mineral soil. Garden earthworms are poorly matched to the dense, food-rich environment of a small bin and may die or attempt to leave. Purchase composting worms from a reputable supplier or obtain them from an established vermicomposting system rather than collecting unidentified worms from the yard.
Use this compact setup sequence:
- Choose an opaque bin with a secure but ventilated lid.
- Add several inches of prepared, fluffed bedding.
- Introduce the worms and leave the lid off under indoor light briefly so they settle downward.
- Add one small pocket of food after they have moved into the bedding.
- Check moisture, odor, and uneaten food before the next feeding.
A larger bin provides more buffering capacity but does not justify heavy feeding from day one. The common failure is matching food volume to bin size instead of worm activity. Begin conservatively and let observed consumption determine how much the system can process.
How Should Worm Bedding Be Prepared?
Worm bedding must hold moisture while preserving small air spaces. Shredded corrugated cardboard, torn plain paper, and partially decomposed leaves are practical carbon-rich materials. A mixture usually performs better than one material alone: cardboard supplies structure, paper absorbs moisture, and aged leaves introduce varied texture. Avoid glossy coatings, plastic tape, laminated paper, and cardboard contaminated with oil or household chemicals.
Moisten bedding before it enters the bin. Soak or mist it, mix thoroughly, and squeeze out excess water until it feels similar to a wrung-out sponge. Dry material can pull moisture away from worms, but saturated bedding excludes oxygen and encourages anaerobic decomposition. Fluff compacted pieces instead of pressing them into a dense mat. Air movement occurs through the gaps between damp fibers.
A small amount of finished compost or garden soil can introduce grit and microbial life, but the bin should not be filled with soil. Composting worms consume microbe-rich decomposing matter, and soil adds weight without providing the absorbent structure supplied by paper-based bedding. Likewise, peat moss is not required. Depending heavily on it can complicate moisture and acidity management, while shredded household cardboard is renewable and easy to replace.
Bedding is both habitat and a slow food source, so it gradually disappears. Add fresh handfuls whenever the contents look muddy, compacted, or dominated by recognizable kitchen scraps. Tucking dry cardboard around an overly wet feeding pocket can restore structure without disturbing the entire bin. If the top dries while the lower material remains damp, lightly mist the surface and cover it with a loose layer of moist cardboard.
| Bedding condition | What it suggests | Practical response |
|---|---|---|
| Loose, damp, and earthy-smelling | Moisture and airflow are balanced | Continue normal checks and add bedding as it breaks down |
| Dripping or pasty | Too much water or wet food | Mix in dry cardboard and pause watery scraps |
| Dry, crisp surface | Evaporation exceeds moisture input | Mist lightly and add a loose damp cover |
| Sour or rotten odor | Compaction, excess food, or low oxygen | Remove spoiled food, fluff gently, and add dry bedding |
Do not chase an exact moisture reading when simple physical signs are clearer. Bedding should cling together when squeezed but separate easily when released. Persistent odor, pooled liquid, and worms clustering near the lid show that conditions need correction; adding more food at that point compounds the problem.
Feeding and Maintaining a Stable Worm Bin
Feeding should follow the worms’ processing rate rather than a fixed household schedule. Begin with a small quantity of chopped fruit and vegetable trimmings buried beneath the bedding. Check that pocket several days later. If much of it remains recognizable or smells fermented, wait before feeding again. When it is largely transformed into soft, dark material, place the next portion in a different part of the bin.
Suitable inputs include vegetable peelings, fruit scraps, coffee grounds in moderation, tea leaves removed from plastic mesh bags, crushed eggshell, and small amounts of plain cooked grains. Chopping or freezing and thawing scraps increases exposed surface area, allowing microbes to colonize them faster. Worms feed within that microbial decomposition zone, so soft scraps disappear sooner than tough stems or large pieces of rind.
Avoid meat, fish, dairy products, greasy food, and heavily salted leftovers in a basic household bin. These materials may decay in ways that create strong odors and attract pests before a small worm population can process them. Large quantities of citrus, onion, or spicy food can also overwhelm a confined system. A single small addition is different from repeatedly depositing a concentrated bucket of the same material.
Bury each feeding under several inches of bedding and rotate among sections of the bin. Covering scraps reduces access for fruit flies, while rotation makes it easier to judge consumption. A breathable container in the freezer can hold scraps between feedings and interrupt fruit-fly development, but thawed food releases substantial water. Drain excess liquid or balance it with dry bedding.

An earthy smell, worms distributed through the upper bedding, and a gradual loss of recognizable scraps indicate stable operation. Warning signs require targeted corrections:
- Food odor: Remove the largest uneaten pieces, add bedding, and reduce the next portion.
- Fruit flies: Bury food more deeply, stop exposed feeding, and cover the surface with fresh bedding.
- Worms gathering at the lid: Check for excessive moisture, heat, recent acidic inputs, or poor airflow.
- Slow processing: Confirm that the bin is not too cold, too dry, newly established, or overloaded.
Overfeeding is more damaging than underfeeding because excess scraps consume oxygen and generate acidic, wet pockets. Worms can use bedding while a feeding is delayed. Maintenance should therefore prioritize habitat conditions first, then food volume. Resist stirring the bin aggressively; gentle inspection preserves the moist channels and decomposing zones already working well.
When and How Should Worm Castings Be Harvested?
Harvest becomes appropriate when much of the bin contains dark, fine, soil-like material and the original bedding is difficult to identify. Timing varies with worm population, temperature, food type, and bin volume, so appearance and texture are more reliable than a calendar date. Finished material may still contain eggshell fragments, fibrous stems, and a few worms; total uniformity is unnecessary.
The light-separation method is inexpensive and well suited to occasional harvests. Place small mounds of bin contents on a protected surface under bright ambient light. Worms retreat toward the centers and bottoms of the mounds. Remove the outer layer gradually, pause to let the worms move downward, and repeat until a worm-rich core remains. Return that core, along with unfinished scraps, to fresh bedding. The method requires time and workspace but no specialized equipment.
Side migration causes less handling. Move the mature contents to one side of the bin and add fresh bedding plus food to the empty side. Over the following feedings, place scraps only in the new material. Many worms will migrate toward the active food zone, allowing the older side to be removed with fewer worms. Migration is slower than light separation and never captures every worm, but it suits households that prefer a low-disturbance process.
Screening can produce a finer amendment, although damp castings clog mesh and vigorous screening may injure worms or cocoons. Let harvested material become only dry enough to crumble, then pass it gently through an appropriate screen. Return oversized bedding and visible worms to the bin. Drying castings until they become dusty is counterproductive because it makes handling messy and diminishes the moist, biologically active character gardeners seek.
Use harvested vermicompost as a soil amendment rather than assuming it can replace every component of a potting medium. Blend a modest amount into seed-starting or container mixes, top-dress established plants, or place it in planting holes mixed with surrounding soil. Pure castings may hold more moisture than some plants need and can be an inefficient use of a limited harvest.
Immediately rebuild the worm habitat with damp bedding and a small quantity of familiar unfinished material. The retained material helps carry organisms and cocoons into the renewed bin. A harvest is successful when most usable castings are removed without trying to recover every particle or separate every worm; excessive sorting creates work without materially improving the next cycle.
Frequently Asked Questions
Do worm bins need drainage holes?
Not necessarily. Properly moistened bedding should not produce standing liquid. Ventilation is necessary, but lower drainage holes can leak and invite pests; control excess moisture with dry bedding and smaller feedings.
Why are worms trying to escape the bin?
A few wandering worms may be normal after setup, but a mass escape suggests heat, saturation, poor airflow, irritating food, or rapidly deteriorating conditions. Remove questionable scraps and check bedding temperature, odor, and moisture.
Can regular garden worms live in a compost bin?
Many soil-dwelling worms require deeper, mineral-rich ground and are unsuitable for a shallow bin. Use composting species such as red wigglers obtained from a reliable source.
How often should a worm bin be fed?
Feed when the previous portion is mostly processed rather than following a rigid schedule. New or cool bins may process food slowly, while established populations under moderate conditions can accept food more frequently.
Are worm-bin leachate and worm tea the same thing?
No. Liquid draining from a wet bin is uncontrolled leachate, not deliberately prepared aerated or extracted vermicompost tea. Prevent pooling and do not treat unknown runoff as a concentrated plant fertilizer.
Conclusion
A dependable worm farm is built around habitat management, not rapid disposal of every kitchen scrap. Choose a shallow, ventilated bin protected from temperature extremes, then establish loose bedding that remains damp without dripping. Add food in small buried pockets and let actual consumption determine the next feeding. Earthy odors and progressively darker material show that the system is functioning; sour smells, pooled moisture, flies, and escape attempts call for less food, more absorbent bedding, or better airflow.
Delay harvesting until the contents are predominantly dark and crumbly. Light separation is practical for a quick manual harvest, while side migration trades speed for less handling. Return worms, unfinished material, and fresh bedding to the bin, then restart with a restrained feeding. Regular observation and small corrections are more effective than repeatedly emptying, stirring, or rebuilding the entire system.

Additional Resources
Authoritative Sources
- Vermicomposting Puts Worms to Work
extension.psu.eduPenn State Extension guidance on worm bins, bedding, feeding, and harvesting vermicompost.
- Worms Can Recycle Your Garbage
content.ces.ncsu.eduNC State Extension guidance on worm bin setup, bedding, feeding, troubleshooting, and harvesting worm castings.