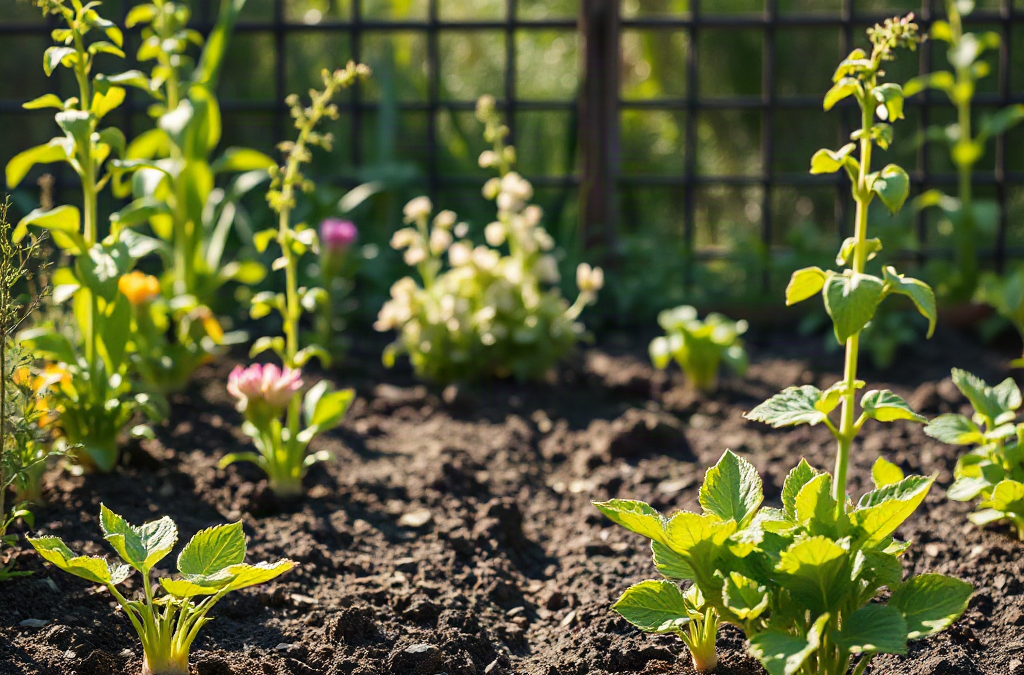
Growing a garden from an empty homestead plot begins with mapping sunlight, testing the soil, securing a dependable water source, and preparing only the planting area you can maintain through the first season. Place beds outside drainage channels and livestock traffic, then suppress existing vegetation before loosening compacted soil and adding compost according to actual soil needs. Start with a modest mix of reliable vegetables, flowers for beneficial insects, and permanent paths rather than cultivating the entire plot at once. Mulch after planting, monitor moisture below the surface, and record harvests, pest damage, and weak spots so the garden layout improves instead of expanding blindly.
How Should You Evaluate an Empty Garden Plot?
A productive site is chosen through observation rather than convenience alone. The flat patch nearest the house may be easy to reach, but it can still be shaded in the afternoon, crossed by runoff, exposed to livestock, or far from a practical water connection. Before removing vegetation, watch the plot at several times of day and after rainfall. Mark where direct sun reaches the ground, where water collects, and where wind dries the surface.
Most fruiting crops, including tomatoes, peppers, squash, beans, and cucumbers, perform best in a location receiving substantial direct sunlight during the growing season. Leafy greens tolerate more partial shade, although dense tree shade brings competition from roots as well as reduced light. Seasonal conditions matter: a site observed before deciduous trees leaf out can appear much sunnier than it will be when summer crops need light.
Drainage deserves equal attention. A low spot that stays wet after surrounding ground becomes workable can deprive roots of oxygen and delay spring planting. Raised beds may improve the root zone, but they do not correct a larger runoff route. Redirecting concentrated water without understanding where it will go can also shift erosion elsewhere. Choose higher ground when possible, keep beds out of obvious swales, and preserve vegetated strips where runoff needs to slow down.
Test access as part of the site assessment. Carrying watering cans across several acres is manageable for a few transplants but unrealistic during hot, dry weather. Likewise, a garden outside the normal path between the house, barn, and work areas is easier to neglect. A slightly smaller plot near water and daily activity often produces more food than a distant site with theoretically ideal soil.
Before digging, identify buried utilities through the appropriate local utility-marking service and check for septic components, easements, or previous uses of the ground. Soil near old structures, dumping areas, treated timbers, or peeling exterior paint may warrant contaminant testing through a qualified laboratory. A basic fertility test does not necessarily screen for contaminants, so request the correct analysis rather than assuming one test covers every concern.
Finish the assessment by placing temporary stakes around one realistic growing area. If the boundary interrupts vehicle turns, animal movement, drainage, or future construction, adjust it now. Moving stakes costs nothing; relocating established beds, irrigation, and fencing does.
How Do You Prepare Soil Without Overworking the Site?
Soil preparation should solve measured problems while preserving structure. Begin with a soil test that reports pH and nutrient status, using representative samples taken from the intended beds rather than roadsides, manure piles, or isolated wet patches. Follow the laboratory’s sampling instructions because depth and sample handling affect the usefulness of the result. Recommendations from a local extension laboratory are especially helpful when they account for regional soils and vegetable production.
Existing vegetation determines the next step. Annual weeds can often be cut down and covered, while perennial sod, bindweed, bermudagrass, quackgrass, or similar spreading plants require more persistent control. Cardboard topped with organic material may suppress ordinary lawn when given enough time, but gaps and thin edges allow vigorous perennial weeds to return. A tarp can exclude light without introducing cardboard, although it must be secured and removed before planting. Mechanical tillage offers fast initial clearance but can chop spreading roots into new pieces and bring buried weed seed toward the surface.
Choose a method according to the planting deadline. For a garden needed within weeks, remove sod from individual beds, loosen compacted soil with a fork, and apply mature compost at the surface. For a plot planned several months ahead, occultation or sheet mulching can reduce digging and leave decomposing roots in place. Neither approach excuses poor timing: working clay-rich soil while it is wet compresses pores into dense clods that remain difficult to correct after drying.
Compost improves the surface environment and adds organic matter, but more is not automatically better. Repeated heavy applications of manure-based compost can add nutrients faster than crops remove them. Use the soil report to decide whether lime, sulfur, or fertilizer is justified, and do not attempt to alter pH by guesswork. Fresh manure presents additional handling and timing concerns around food crops; well-finished compost is the simpler first-year material for most new plots.
A compact preparation sequence keeps the work focused:
- Mark permanent beds and paths so amended soil is not repeatedly walked on.
- Cut vegetation before it seeds and address perennial roots at bed edges.
- Wait for workable moisture; soil should crumble rather than smear when handled.
- Loosen only where needed, especially where prior traffic created a compacted layer.
- Add tested amendments and cover exposed soil with mulch or a crop promptly.
Preparation is working when water enters the bed without prolonged ponding, a hand tool penetrates the root zone without striking a continuous hard layer, and weed regrowth declines between checks. Deep ruts, polished clods, standing water, or a rapid flush of spreading weeds signal that cultivation, drainage, or suppression needs to be reconsidered before the whole plot is planted.
Design a Manageable First-Year Garden
The first layout should fit available labor, water, fencing, and harvest capacity. Empty acreage can make a large garden seem efficient, yet every additional row creates more ground to weed, irrigate, mulch, and protect. Begin with several defined beds and leave room to expand after one full season reveals how the site behaves.
Permanent beds reduce compaction because feet and wheelbarrows remain in designated paths. A bed should be narrow enough to reach its center from either side without stepping into it. Path width depends on the tools used: a hand-carry path can be narrower than a route intended for a wheelbarrow or garden cart. Orienting rows north to south can distribute light more evenly on an open site, but slope, drainage, and convenient irrigation may be stronger reasons to use another alignment.
Group plants by space, timing, and water demand rather than scattering one of everything throughout the garden. Tall trellised crops should not shade sun-loving shorter crops during peak growth. Long-season plants such as tomatoes can occupy a separate bed from fast spring radishes or lettuce, making succession planting easier. Sprawling winter squash may be better placed along an edge where vines can run into mowed space instead of blocking paths.
| Planning Area | First-Year Choice | Reason |
|---|---|---|
| Bed area | Plant a limited core plot | Matches weeding and watering to known capacity |
| Crop mix | Use several dependable crops plus a few trials | Balances useful harvests with site learning |
| Paths | Make them permanent and mulch them | Limits compaction and clarifies maintenance areas |
| Protection | Install fencing before severe browsing occurs | Young plants can be lost before damage is noticed |
| Expansion | Reserve covered ground beside the garden | Suppresses weeds without creating immediate upkeep |
Select crops that match household use and local seasonal limits. Bush beans, summer squash, chard, kale, cucumbers, herbs, and regionally suitable tomato varieties can provide clear feedback during a first season, but planting dates differ by climate. Use local frost guidance and seed-packet maturity information rather than copying a schedule from another region. A crop requiring a long warm season may need transplants, while peas or spinach often perform better in cool conditions.
Protection belongs in the design, not in the repair plan. Deer pressure may require a different barrier from rabbits, groundhogs, poultry, or roaming livestock. A short decorative fence will not solve every animal problem, and fine mesh placed only at ground level will not deter taller browsers. Secure gates, inspect the lower edge for gaps, and keep electric fencing or other specialized systems consistent with manufacturer directions and local requirements.

A successful layout leaves enough time for harvesting and preserving, not merely planting. If produce repeatedly becomes oversized, weeds flower in paths, or irrigation cannot reach the final beds evenly, the garden is larger than its current management system. Cover unused ground rather than treating empty space as a failure.
How Should You Plant, Water, and Monitor the Garden?
Planting should follow soil temperature, frost risk, and each crop’s growth habit. Cool-season seeds may germinate poorly in hot soil, while tender transplants can be damaged by a late freeze or cold wind. Regional extension planting calendars offer a useful starting point, but the garden’s elevation, slope, and cold-air exposure can shift conditions from those at the nearest town.
Direct sowing suits crops that establish readily in place or dislike root disturbance, including beans, peas, carrots, and many squash varieties. Transplants give tomatoes, peppers, brassicas, and similar crops a head start where the growing season is constrained. Set hardened transplants out during mild conditions when possible, water the root ball thoroughly, and protect them temporarily if wind or abrupt sun exposure causes wilting. Hardened plants have been gradually acclimated outdoors; seedlings moved straight from sheltered conditions can scorch even when the soil is moist.
Water deeply enough to moisten the active root zone, then check the soil rather than following a rigid calendar. Sandy ground drains quickly and may need more frequent attention, while clay-rich soil retains moisture longer but accepts water slowly. Drip lines or soaker hoses usually place water more efficiently at bed level than overhead sprinklers, especially on windy sites. They still need inspection: a kink, clogged emitter, low-pressure endpoint, or animal-chewed line can leave one section dry while the system appears to be running.
Mulch moderates surface drying and blocks light from reaching many weed seedlings. Apply it after the soil has warmed for heat-loving crops, leaving space around stems to reduce persistent dampness and hiding places immediately against young plants. Straw, shredded leaves, and other clean organic materials work differently according to availability and wind exposure. Unverified hay may introduce viable seed, and a thick mulch placed over poorly watered soil can shed light rain before it reaches roots.
Walk the beds several times each week and inspect the undersides of leaves, new growth, stem bases, and soil moisture below the surface. Early observations are more useful than broad rescue treatments after damage spreads. A few chewed leaves may not justify intervention; rapidly increasing defoliation, cut seedlings, wilted plants in moist soil, or recurring tracks require identification before action. Avoid treating every insect as a pest because pollinators, predators, and decomposers also use the garden.
Keep a simple dated record of sowing, transplanting, rainfall or irrigation, pest symptoms, harvest quantity, and crop removal. The goal is not elaborate paperwork. Notes reveal whether poor performance came from late planting, uneven watering, unsuitable placement, or a variety that did not fit the season. Strong new growth, consistent flowering, crumbly covered soil, and declining weed pressure show that the system is stabilizing. Repeated wilting, nutrient-like discoloration, standing water, or stalled growth calls for checking roots, moisture, soil conditions, and weather before adding fertilizer.
Conclusion
An empty plot becomes useful garden ground through a sequence of measured decisions, not by cultivating as much space as possible. Observe sunlight and runoff, confirm convenient water access, test the soil, and exclude questionable locations before investing in permanent beds. Match the first planting area to the time available for routine weeding, irrigation, protection, and harvesting.
The next practical move is to stake a modest site, collect a representative soil sample, and observe it after rain. Use those findings to choose between in-ground and raised beds, select a vegetation-control method, and plan fencing before seedlings are exposed. Keep unused ground covered, document what happens during the season, and expand only when the original beds remain manageable. The first year should produce food, but its most durable yield is a site-specific record of what the land can support.
Frequently Asked Questions
How large should a first-year homestead garden be?
Choose an area you can weed, water, harvest, and protect every week. Several well-managed beds are more informative and productive than a large tilled plot that becomes overgrown by midsummer.
Can I plant directly into an old pasture?
You can establish beds in pasture, but remove or thoroughly suppress sod first. Persistent grasses may grow through thin mulch, and freshly tilled roots can resprout throughout the planting area.
Do I need raised beds on an empty plot?
Raised beds are useful for poorly drained, compacted, or shallow soil, but they require fill material and dry faster. Productive in-ground beds are usually simpler where drainage and soil structure are suitable.
What should I plant during the first season?
Prioritize vegetables your household eats and that fit the local season. Combine dependable crops with a few small trials, and avoid devoting large areas to unfamiliar crops before seeing how they perform.
When should I expand the garden?
Expand after the existing beds remain watered, weeded, harvested, and protected through a demanding part of the season. Prepare adjacent ground under cover before adding beds so expansion does not create a new weed problem.